
Editing Text

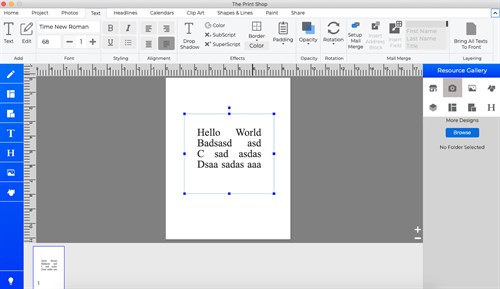
- To change the contents of a text box, double-click on the text
box, or click on the text box to select it and then click the
Edit Text button in the Ribbon Tabs.
- Highlight text in the text preview area by holding the mouse
button down as you drag over the text to select. Change style
elements of the selected text using the available options in the
Text area of the Ribbon Tabs.
- The following options are available in the Ribbon Tabs under
the Text heading:

Drop Shadow
- Click on the Drop Shadow button to add a shadow underneath the
text or to edit an existing shadow. A shadow makes the text stand
out and gives it a sense of depth on the page.
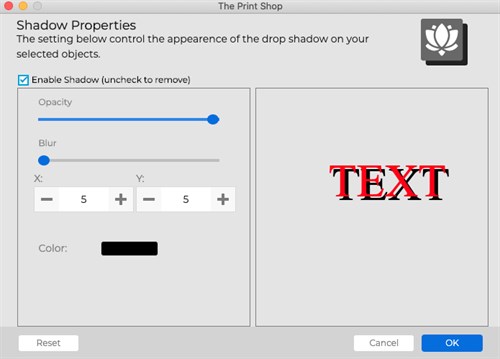
- In the Shadow Properties dialog:
- Ensure that the Enable Shadow box is checked. Clear the check
in the box to remove the shadow.
- Drag the Opacity slider to adjust the transparency of the
shadow. Higher values for the slider make the shadow more opaque
(darker); lower values make it more transparent.
- Click on the Change button next to the Color
box to choose the shadow's color. See the Choose Color
topic for more information on choosing colors.
- Click on the shadow in the area to the top right and hold the
mouse button while dragging to adjust the shadow's placement. You
may also use the arrow keys on the keyboard to nudge the
shadow.
- Click on the On this page box to add a shadow with the same
settings to all of the text on the current page.
- Click on the In this project box to add a shadow with the same
settings to all text on every page in the project.
- Click on the Reset to Default button to clear
the current settings.
- Click on the Save as Default button to save
the current settings as the default settings for text in The Print
Shop for Macintosh. To clear default settings, click The Print Shop
for Macintosh menu and choose Preferences, click on the Shadow
tab, check the Text box, and click Reset
to System Default.
- The Remove button is another method for
removing the shadow. This method allows you to remove shadows from
all text in the project, all text on the page, or just the selected
text. After clicking the Remove button, click on
your choice in the new window that appears.
- Click OK to place the shadow.
Select Font
Change the set of text characters by
choosing a font from the Select Font drop-down list.
Size
Change how large the text characters
are by choosing a number from the Size drop-down list. You may also
type a size directly into the box (hit the Enter or Return key to
apply).
Line Spacing
To change the vertical space between
lines of text, click on the up or down arrows next to the number in
the Line Spacing value. Alternately, type a number between -3 and 3
directly into the Line Spacing field (hit the Enter or Return key
to apply).
Style
Click on the B
(bold), U (underline),
or I (italic) to apply the selected formatting
style to the text.
Alignment
Click on an alignment icon to set the
text alignment. Left alignment (the left icon) justifies the text
to the top of the text box. Center alignment (the middle icon)
centers the text in the middle of the text box. Right alignment
(the right icon) justifies the text to the right side of the text
box.
Black Text
Click on this icon to change the color
of the selected text to black.
White Text
Click on this icon to change the color
of the selected text to white.
Change Color
Click on the Change Color icon to
change the text color. This opens the Choose Color window.
Match Color
Clicking on this icon opens the Picker
tab of the Choose Color window. See the Choose Color topic for more
information.
Opacity
This allows you to make text
semi-transparent (the original state of the text is 100% opaque -
not transparent at all). Drag the slider to the left to make the
text more transparent. Drag the slider to the right to make the
text more opaque (less transparent).
Rotate (by Degrees)
To rotate the text, drag the slider to
set the angle of rotation. The number in the box at the top right
will show the angle in degrees. You may also type the angle of
rotation directly into the box and hit Enter/ on the keyboard.
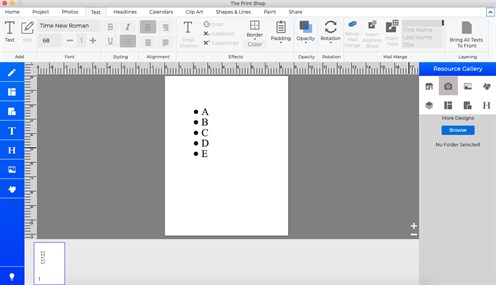
Bulleted Text
To create a bulleted list, add a Text
object to the page. Enter you list of items. Select the items you
wish to have bullets next to and press the Bulleted icon in the
Text tab of the ribbon.
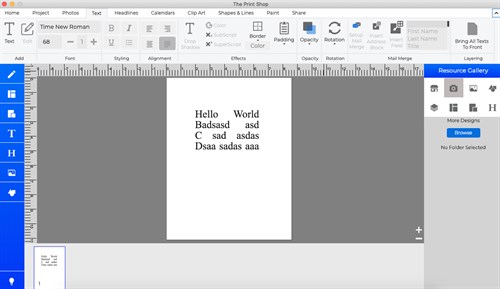
Text Full Justification
Select a text box and press the Full
Justification icon in the Text tab of the ribbon to make your text
fill the text box along the left and the right edge.
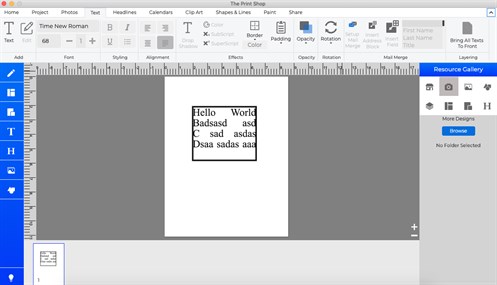
Text Border
You can apply simple border around
text objects by clicking the border icon in the Text ribbon tab and
adjusting the slider to provide a thick or thin border.
Text Padding
You can add padding to your text box.
Click the padding icon in the Text ribbon tab and adjust the slider
to define how much padding or space you want between the text and
the edges of the text box.
New Text Fonts
Or
Mail Merge
