The Print Shop 3.5 User Guide
The Print Shop 3.5 is designed to help you learn the software.
Be sure to also check out the
Video Tutorials and the
Blog for
additional ideas. To access the User Guide, either click
on a topic to the left, choose a commonly accessed topic
below, or search for a topic above.

Working with Layers & the Arrange Menu

Every object on your project is
assigned to a layer automatically.
Think of layers as several sheets of
paper directly on top of each other. If you were to look at
them you would only be able to see the top-most piece of
paper. If you wanted to see a sheet of paper that was below
the top one you would have to move that piece of paper to the
top.
In the example below we show three
objects on a project:
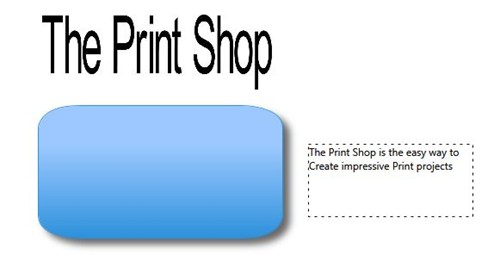
In the image below you can see that
when the layers are aligned on top of each other the headline and
the text box are under the shape.
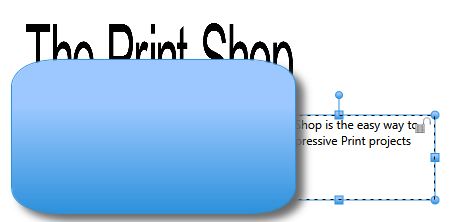
Right Click on an object to get
additional options which allow you to move an object between layers
in the Arrange menu.
You can also do this by:
- Clicking on your object.
- Click on the Home Tab.
- Click on the Arrange button.
- Choose your layer option.
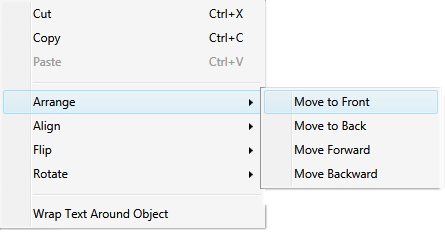
The Arrange menu has four options:
- Move to Front - moves an object on top of all other
objects.
- Move to Back - moves an object behind all others
- Move Forward - moves an object up one layer, allowing it to be
over one object and behind another.
- Move Backward - moves an object down one layer, allowing it to
be over one object and behind another.
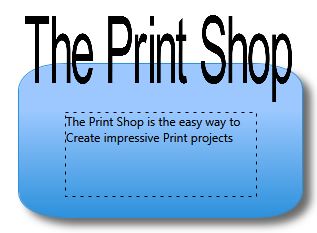
When objects are all aligned
correctly, we can place our objects on top of one another
nicely.
Back to Formatting Objects...
