The Print Shop 4.0 User Guide
This User Guide is designed to help you learn the software.
Be sure to also check out the
Video Tutorials and the
Blog for
additional ideas. To access the User Guide, either click
on a topic to the left, choose a commonly accessed topic
below, or search for a topic above.
In addition to the information available in The Print Shop 4.0 User Guide, Technical support is also available if you encounter an issue with the software. Solutions to common technical issues can be found using these links, or if necessary report a problem to our Support team.

Photo Effects

Photo Effects can be applied using the
Effects bar in the Image Editor. The effects bar is only
available in the Professional version of The Print Shop 4.0.

The Magic Wand feature allows you to
select specific areas within a photo in order to edit them
separately from the rest of the image- giving you greater control
of the editing process.
Click the links below to see samples
of what each effect has on a photo.
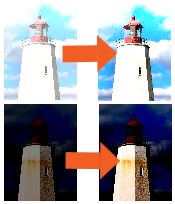
Auto Correct
When your photos are too bright or too
dark, you can use the Auto Correction Button to rebalance the color
levels to restore your photo to a regular level.
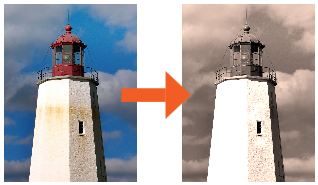
Black/White
Transforms your picture from a color
photo into a Black and White photo.
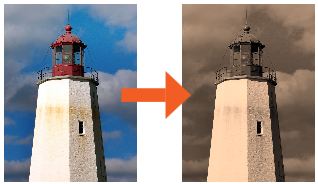
Sepia
Transforms your picture from a color
photo into a brown and yellow photo to make it appear aged.
Negative
Transforms your picture from a color
photo into what your photo would look like on film from a camera
that had not been developed yet.
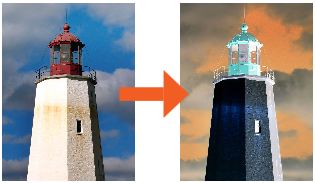
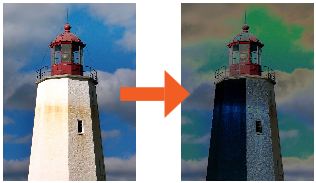
Solarize
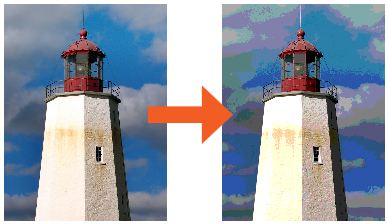
Posterize
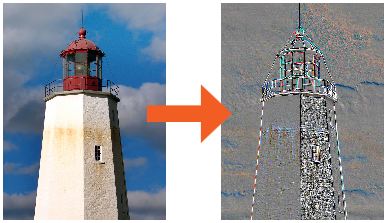
Emboss
Transforms your picture into an
embossed texture.
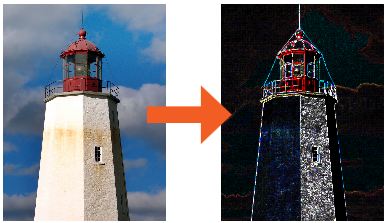
Edge Detect
Colored
Pencil
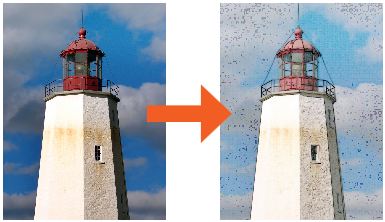
Transforms your picture into a picture
that looks like it was colored by colored pencils.
Transparency
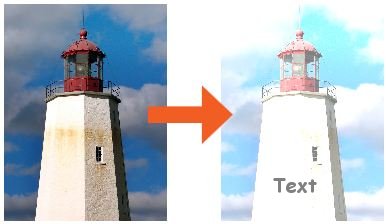
Adjusting transparency allows any
background text or objects to appear through the photo.
Brightness
Contrast
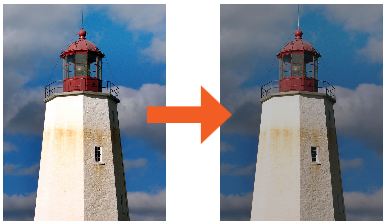
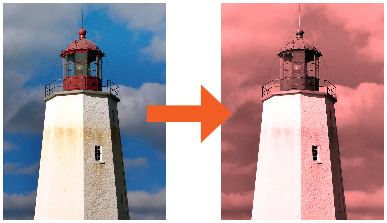
Tint
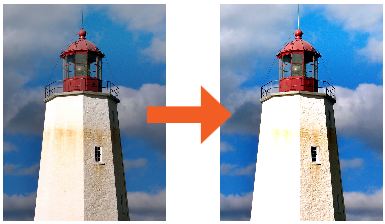
Transforms your picture from a color
photo into a Tinted Photo based on the color you choose.
Back to Photo Editing...
or
Continue to Spot Touchups...