The Print Shop 4.0 User Guide
This User Guide is designed to help you learn the software.
Be sure to also check out the
Video Tutorials and the
Blog for
additional ideas. To access the User Guide, either click
on a topic to the left, choose a commonly accessed topic
below, or search for a topic above.
In addition to the information available in The Print Shop 4.0 User Guide, Technical support is also available if you encounter an issue with the software. Solutions to common technical issues can be found using these links, or if necessary report a problem to our Support team.

Working with Custom Borders

The new Custom Border feature is
exclusive to The Print Shop 4.0. This feature allows you to
customize and design a border that you can add to your project.
Style the border area with clip art or images from your My
Photo gallery. The Custom Border tool is perfect for photo
projects, allowing you to personalize your digital photo album with
a creative touch.
Adding a Custom Border
- Create or Open an existing project in
The Print Shop 4.0.
- Select the Border tab available in
the Print Shop ribbon.

- Click on the Custom Border icon.

- In the Custom Border Tool, select the
areas that you want to customize. Notice that you can select Edges,
Corners, or all Border areas.
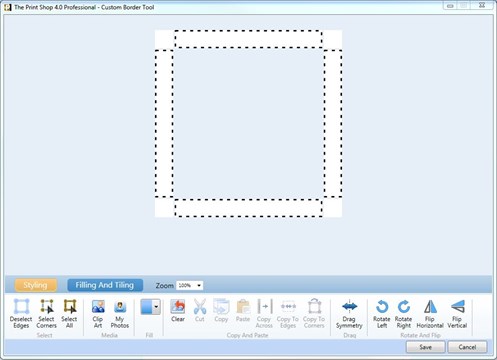
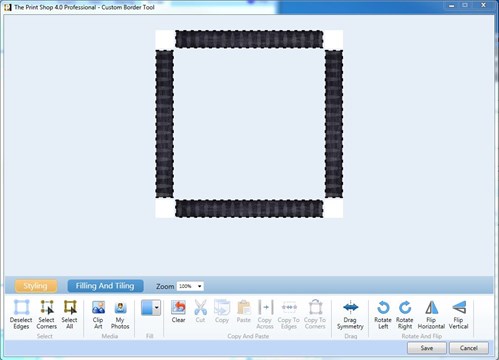
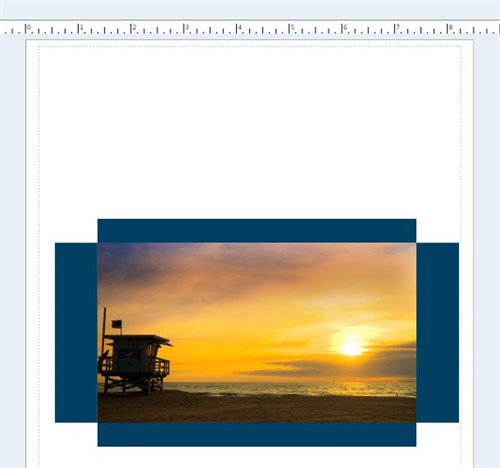
- Add Clip Art or an Image from you My
Photos gallery. The image below shows Clip Art that was added to
the Edges.
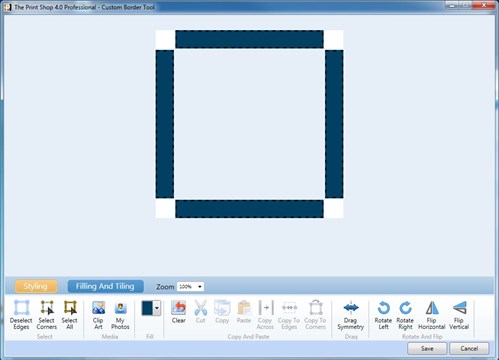
- Instead of adding any Clip Art or
Images, you can Fill the selected area with a color of your
choice.
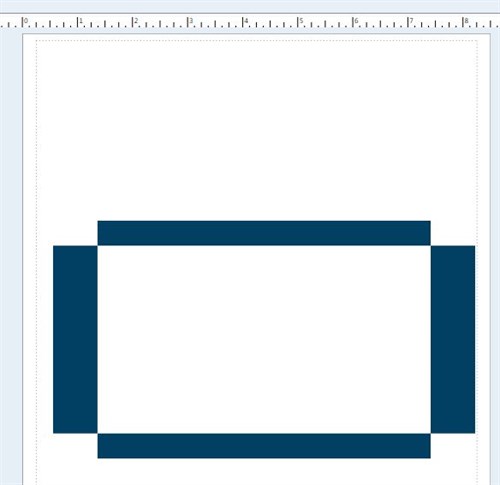
- Save the Custom Border to add your
design to your project.
- Add an Image, Clip Art, or customized
design to the center area.
Deleting a Custom Border
- Select the Custom Border
design.
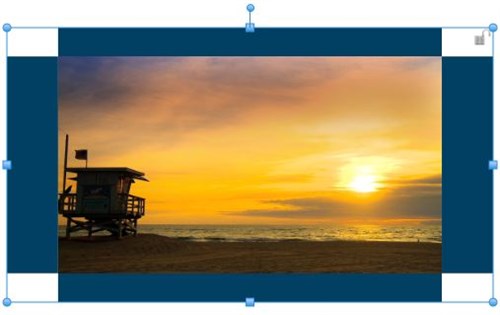
- Select the Remove Border feature
available in the Border tab within The Print Shop ribbon.

Back to Designing and
Modifying a Project...
or
Continue to Working with a
Master Page...