The Print Shop 4.0 User Guide
This User Guide is designed to help you learn the software.
Be sure to also check out the
Video Tutorials and the
Blog for
additional ideas. To access the User Guide, either click
on a topic to the left, choose a commonly accessed topic
below, or search for a topic above.
In addition to the information available in The Print Shop 4.0 User Guide, Technical support is also available if you encounter an issue with the software. Solutions to common technical issues can be found using these links, or if necessary report a problem to our Support team.

Working on More than one Project at a Time

When creating a project it's important
to consider that it's possible to actually save time by creating
multiple projects at once. A good example is a business that uses
many templates or styles across everything they use. So using this
as an example some of the basic things a business would use are
letterhead, business cards, and envelopes. All of these things are
going to contain the following items:
- A logo
- A mailing address
- A phone number
To save time we will create these
items once and then it will be as easy as copying and pasting this
information to the other two projects. You can do this too by
following the steps below.
- From the Project Gallery choose Letterhead
pre-made templates.
- Pick a letterhead template that best fits your needs.
Example: "Digital Greens Letterhead" meets the three criteria
listed above. This is an online template so it requires that it
first be downloaded.
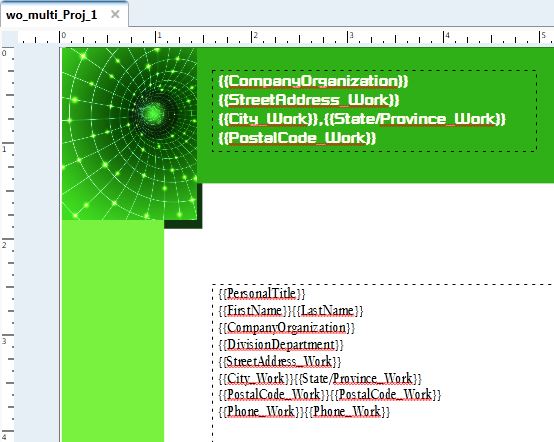
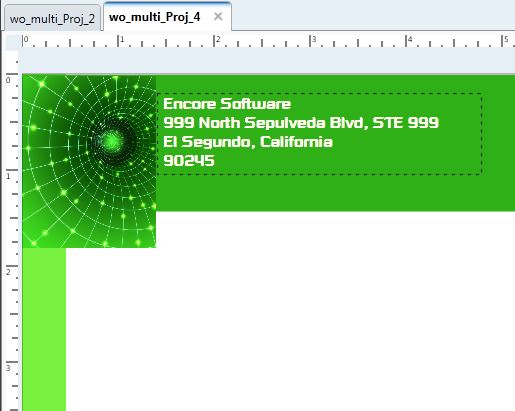
- Replace the text placeholders in the top green section of the
page. This will be enough for now with the letterhead. You will
want to Save your completed project.
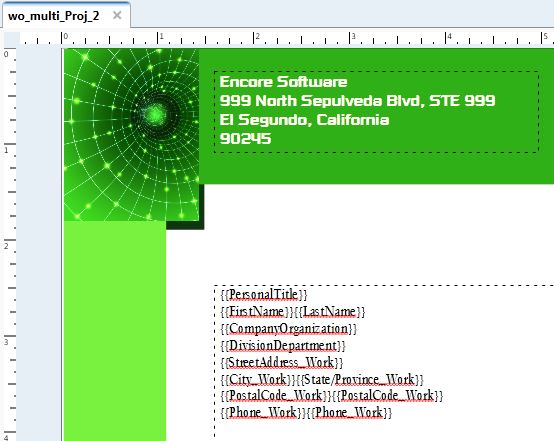
- Without closing the letterhead open a new project by clicking
on "Template" on the sidebar.

- Then choose the Envelopes category.
- Choose a blank #10 Envelope. The envelope project will now open
in a new project tab next to the tab for your letterhead.
- Click on the tab for the first project to switch back.
- Click and drag your mouse cursor over the items you want to
select from the first project. If you're having a difficult time
dragging over the items you can press the control key and click on
the item to add it to your selection.
- Once you have your items selected, click on the Copy icon or
press Control and C together on your keyboard.

- Switch back to your envelope project.
- Click on the "Paste" icon or press Control and V on your
keyboard.

- Now all that's left is to resize and position your objects
around the envelope.
You can use these same steps to
replicate the same template on any project type like business
cards, greeting cards, or calendars.
Back to Designing and
Modifying a Project...
or
Continue to Working with Page
Numbering...