The Print Shop 6.0 Deluxe has hundreds
of frames in so many styles to add flair to your photos.
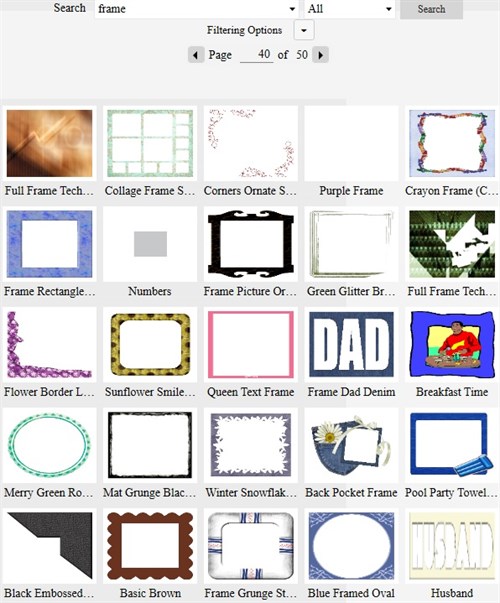
Start with a new blank project and add
your photo. Click the ClickArt icon to open the Art
Gallery. Type frame into the Search box.
You'll find fun frames, traditional frames, decorative corners,
artsy borders and more.
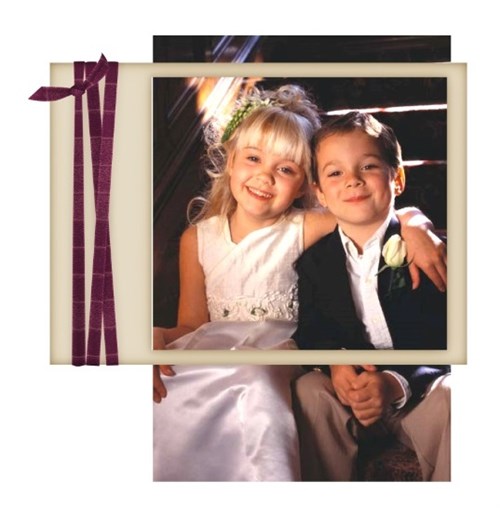
In this demonstration, I chose a
ribbon wrapped chipboard frame which I have sized and positioned
over my photo. You can see where I will want to crop my photo
to fit the frame.
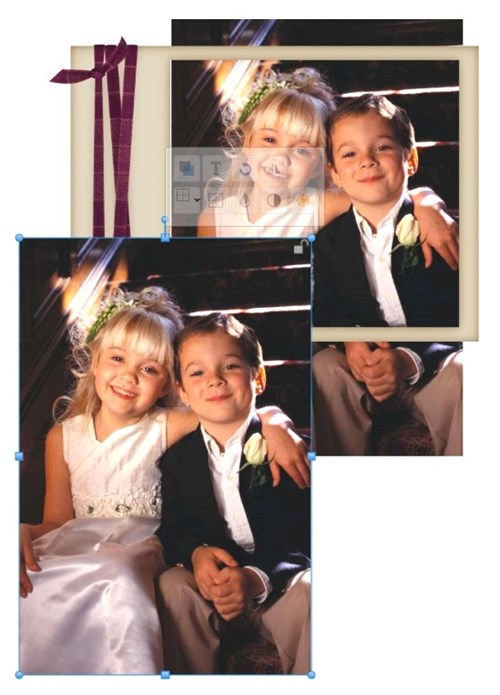
Tip:
Click your photo, then create a copy of it to crop in the Image
Editor. That allows you to view your project while you do
your cropping so you can see where to draw your crop
boundaries.
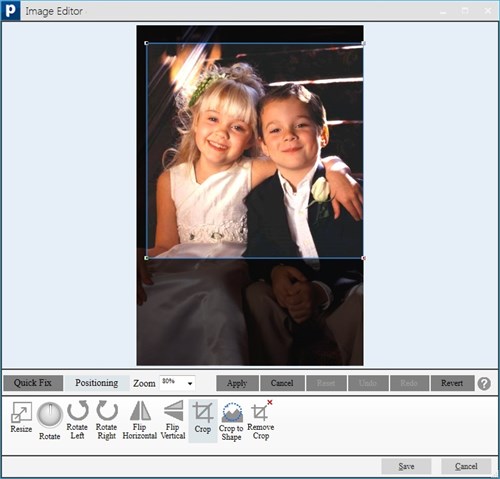
With the copy of the photo selected,
click the Image Editor icon in the toolbar above. The Image
Editor opens. The Crop function is found under the Quick Fix
tab. Click the Crop button. A box appears over your
photo. Click and drag the corners to define the area you want
to keep. Save.
The cropped photo appears on your
project, but ?! it's stretched to fill its original dimensions.
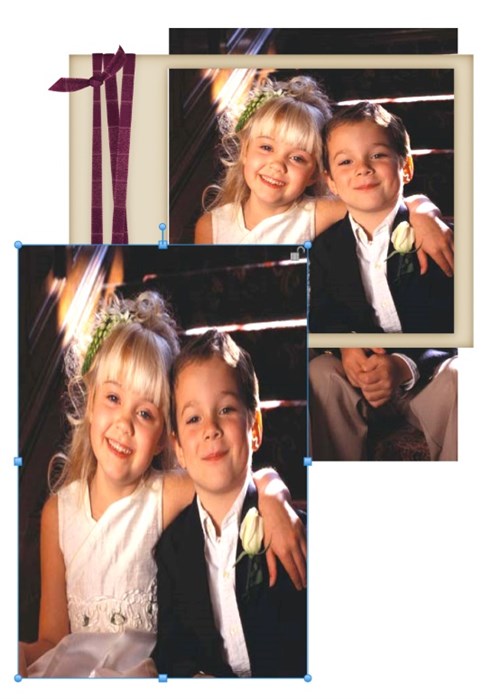
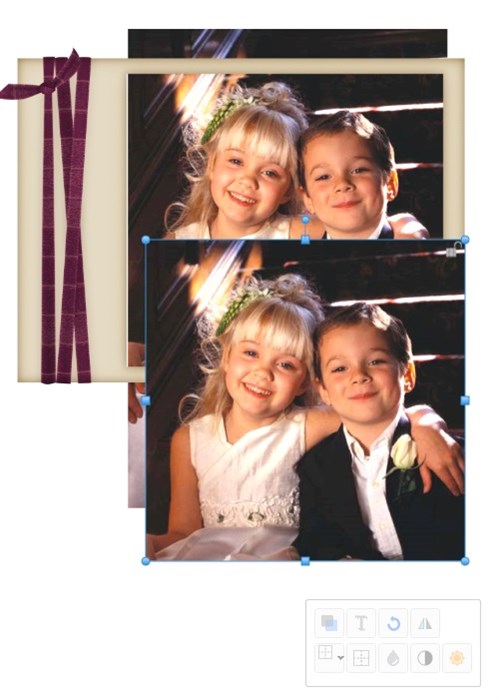
No problem, just click and
drag the middle handle, looking at the original photo to help
you get it just right. Now you can remove the original photo
and arrange the cropped one under the frame.
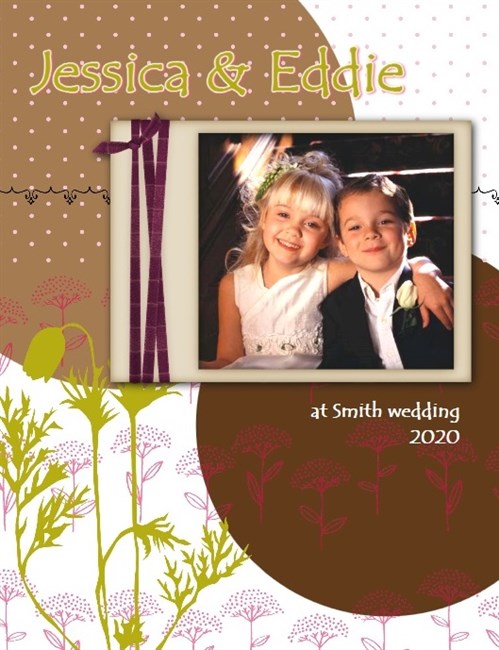
Here is my finished page featuring my
framed and cropped photo.
written by lindarobin