Sometimes we need a photo cropped to a
precise size to submit for a publication, for example, a magazine
article or ad. For this demonstration, let's say the
publication has asked for a photo that must be sized to 2"x3" at
300 dpi.
Although the Image Editor does not
have the tools to do this, I have a technique that accomplishes
this easily in the Print Shop. Start by creating a
Custom Project. Name the new paper stock and
enter the Width and Height dimensions.
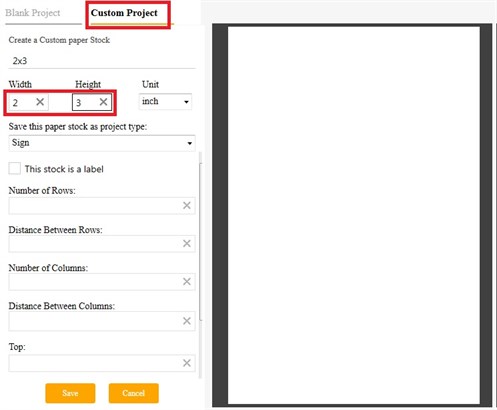
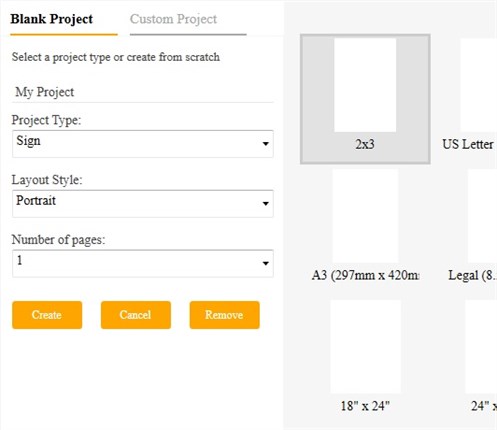
Click Save, and the new paper stock
appears in the list of available stock. Click Create to open a new
project with this size paper.
Add your photo to the workspace.
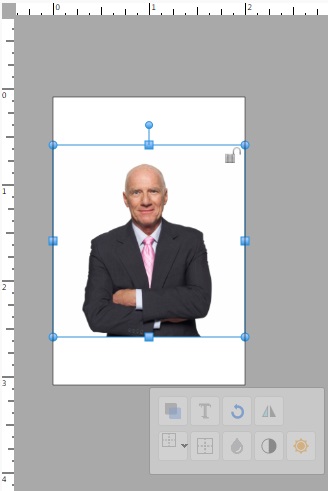
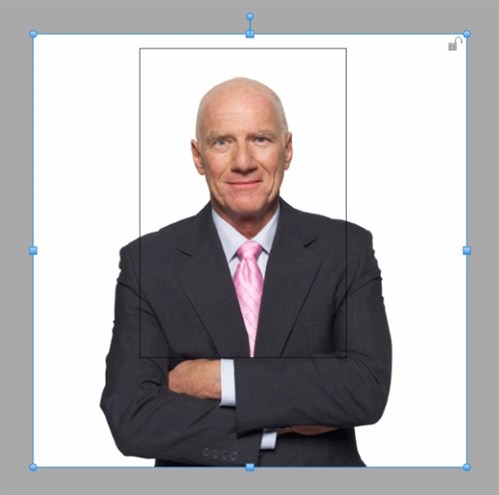
Resize the photo to fill the 2x3
area. Anything outside this area will be cropped off.
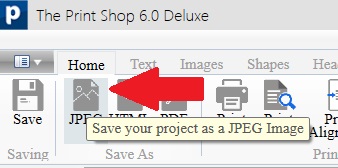
Under the Home tab, click JPEG to save
this project as a JPEG file.
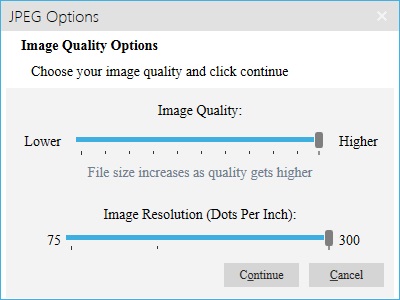
Choose the highest quality and 300
dpi, and Continue.
Give your new JPEG file a name and
save it in a location that will be easy to find.
Do not overwrite your original file.
Your new file is ready for online
submission.

written by lindarobin
