If you are familiar with spreadsheets,
you already know why putting your data into rows and columns makes
sense. If your data includes numbers, it is especially
important that the numbers line up.
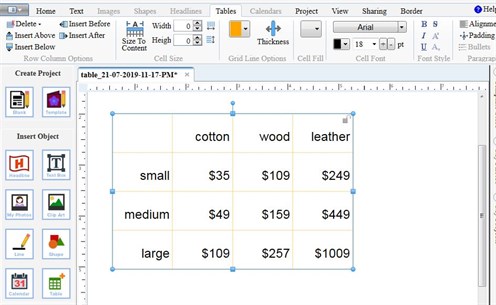
In this example below, you can see how
well lined up the text and numbers are in one simple
table.
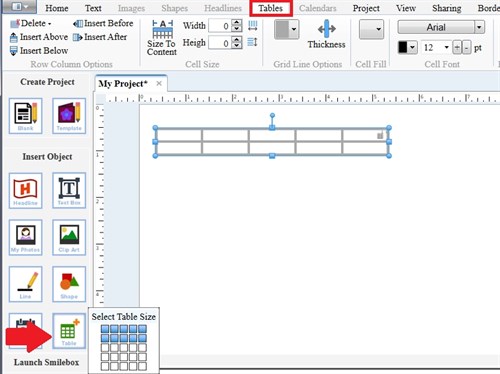
To create a table, click the
Table icon in the Insert Object
sidebar. This lets you quick select a table size by clicking
in the little square filled picture. Don't worry - once your
table is created, it is very easy to add or delete rows and
columns, using the tools in the Tables tab.
Tip: Practise using the table
tools with a minimun of data, so you get a good feel for how to
edit a table. (You don't want to accidentally remove sections of
your table after investing a lot of time typing in a lot of
data.)
Similar to formatting text in a text
box, you can format text in the table - font family, font size,
color, etc.
Tip: Hover over the top of a
column until you see an arrow pointing down, and click. This
selects the entire column so you can format everything in that
column the same. e.g. right justified
Tables can make your design visually
pleasing and easy to read. In this example everything lines
up nicely. I like the look of thin or invisible (white) lines
for the final print.

Tip: In the Print Shop,
images can't be inserted into a table cell. However, the
table cell boundary lines help you to size and position your images
with their respective data.
More info on working with tables can
be found in the User Guide:
/user-guide/50/designing-and-modifying-a-project/working-with-tables.aspx
written by lindarobin
