The Magic Wand tool in the Print Shop
Pro version, lets you select a particular color from an
image. and then apply certain special effects to that selected
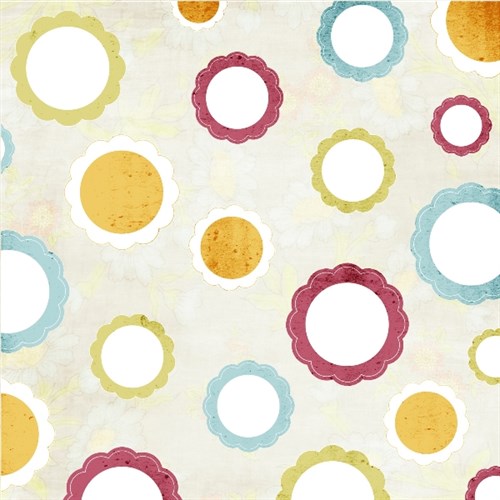
color. To demonstrate, here are two different
background papers.
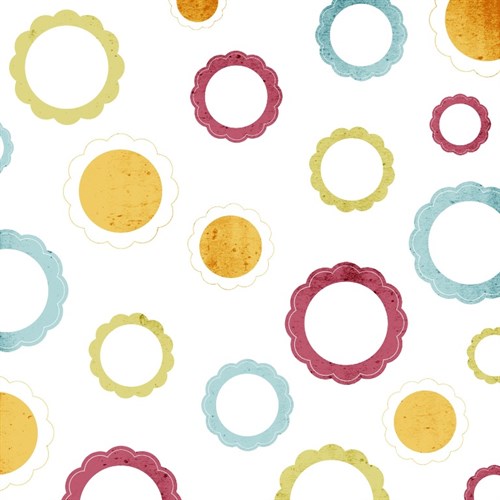
Paper A
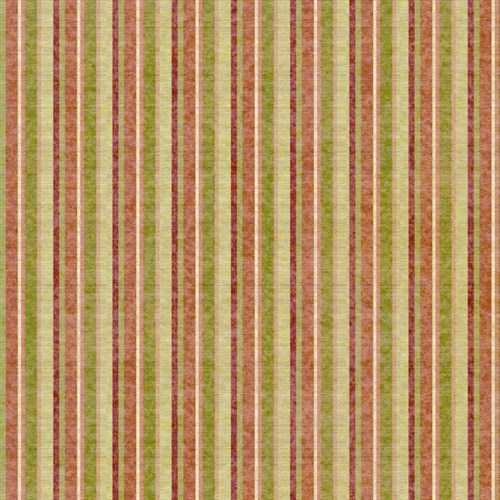
Paper B
Let's "combine" these two papers to
get a new look by editing Paper A.
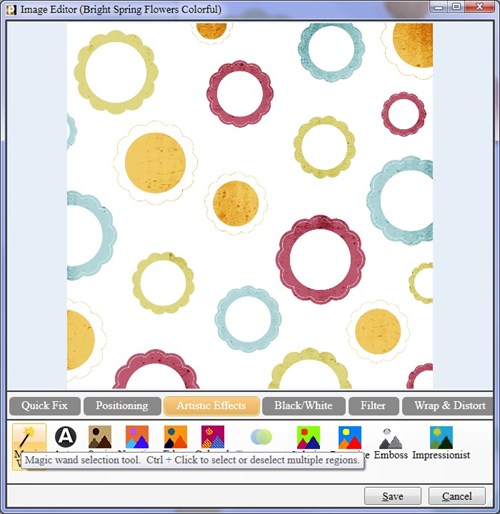
Open Paper A in the Image Editor, then
click the Artistic Effects button to reveal the magic wand
selection tool.
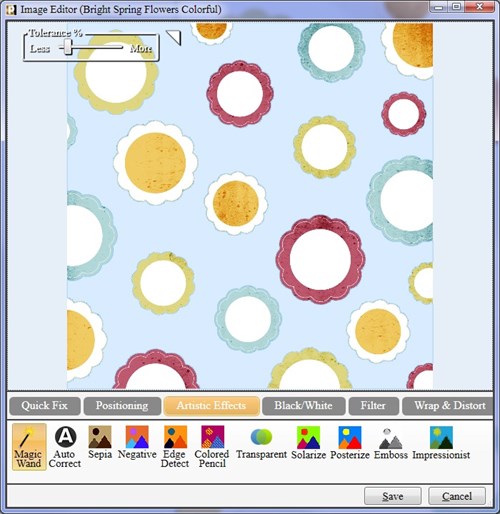
Click the Magic Wand icon,
then click a spot on the image. The spot you click tells the
Editor to select that spot and all adjoining spots of that
color. I clicked on a white spot between the round
objects. Notice how that area is now selected, indicated in
light blue.
A Tolerance slider in the
upper left corner, gives you more control. By increasing the
tolerance, your color selection will include more adjoining pixels
of similar color. (This is useful when trying to select, for
example, the sky in a photo because the sky will be many shades of
blue.)
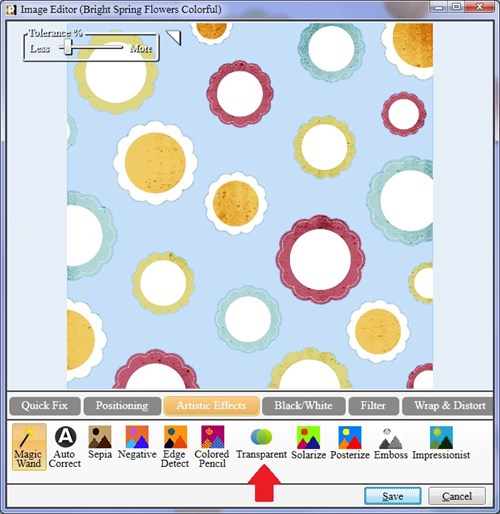
With the white color area selected, I
apply the Transparent effect.
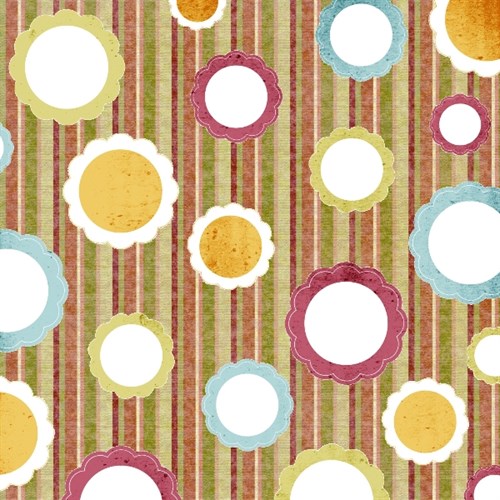
In my project, I position my edited
image on top of Paper B which now shows through the new transparent
area of Paper A.
Here is another look you can achieve
by choosing another background image.
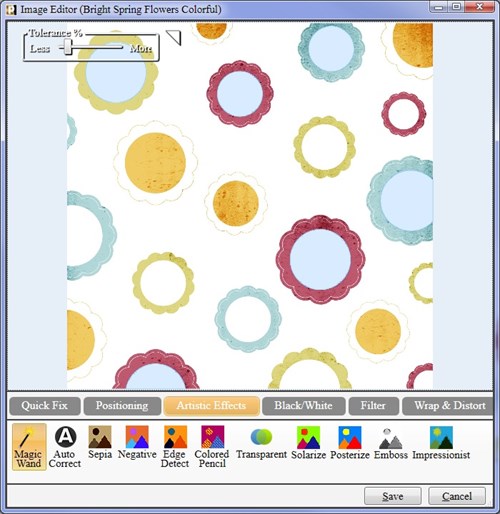
To select multiple areas of
color, you click with the Magic Wand tool while holding
down the Ctrl key. Here I have selected a few round areas
inside "scalloped frames".
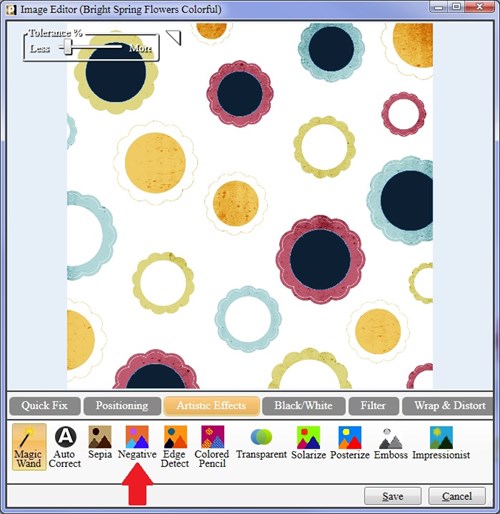
I apply the Negative effect to
the selected areas. This is one way of adding a different
color to the image.
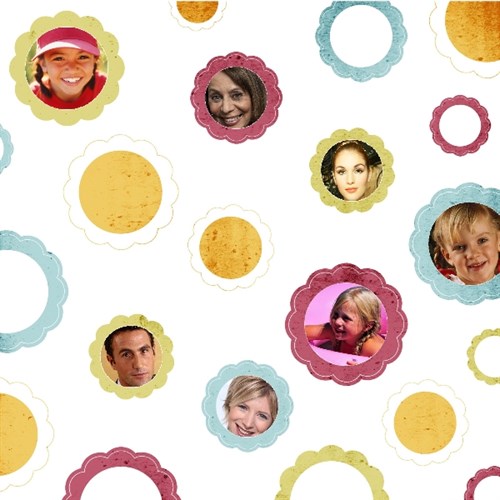
Another fun thing to do is to select
certain areas on the background paper, and make them
transparent. Add photos and resize/reposition them over those
areas. Move the background paper to the top and you see the
result!
Experiment with selecting areas of
color and applying effects to those areas. You may discover
unexpected and pleasing results.
written by lindarobin