While working in The Print Shop, you
may find yourself going back and forth between the Clipart Gallery
and your project page, each time you choose a graphic and add it to
your project. You are probably thinking it would be nice if
you could browse the Clipart Gallery, and make multiple
selections. Then have those selections all available to you
in one convenient place.
That convenient place is the
Image Tray.
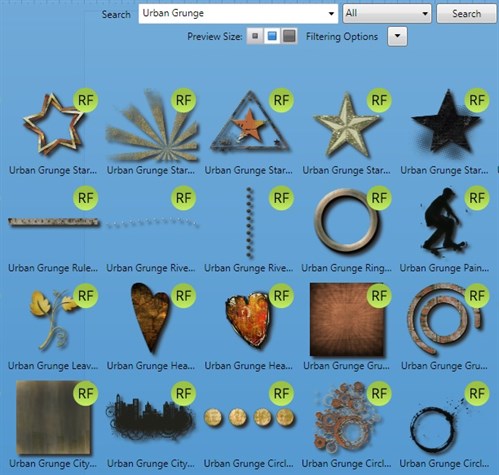
For example, let's say you want Urban
Grunge graphics to design a birthday card for a boy.

Instead of clicking on the thumbnail
(which would take you back to your project page with the newly
added graphic), hover over the thumbnail and click the
Actions arrowhead. From the drop-down menu, choose
Add To Tray.
Do this for each graphic that you
think you may want to use on your project.

When you are finished choosing
graphics, close the Clipart Gallery. (Click the red X near the top
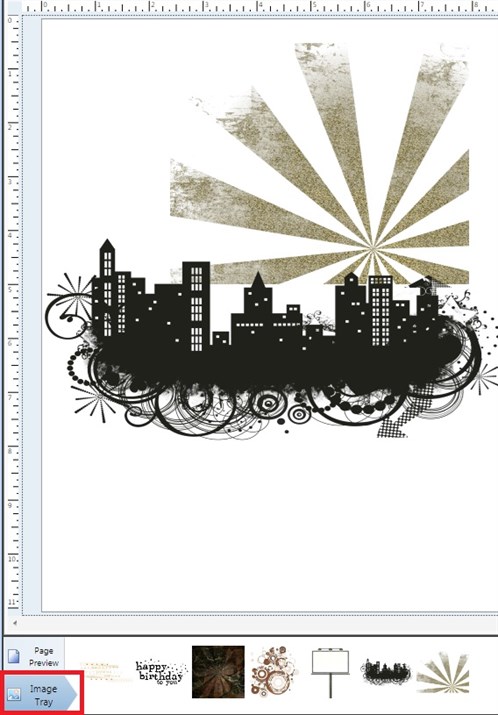
right corner). At the bottom of your project page, click the Image
Tray button to reveal all the selections you made in the Clipart
Gallery.

Click and drag a thumbnail upwards, to
add the image to your project.
Using Add To Tray makes collecting
graphics for your project easier and faster. Now that you
have your selected graphics in the Image Tray, it's time to
create!

written by lindarobin