You've designed your logo in The Print
Shop 4.0. Now you want to save it as an image with
transparent background (i.e. PNG) rather than a white
background.
For this demonstration, I have created
a logo on a Sign project, landscape orientation.
Save your project.
Now we will create a JPEG
version. (It will have a white background, but we will edit
it later.) On the Home tab, click Save As JPEG.

Name your new file and save it in a
location where you can easily access it. Choose the highest
quality options.

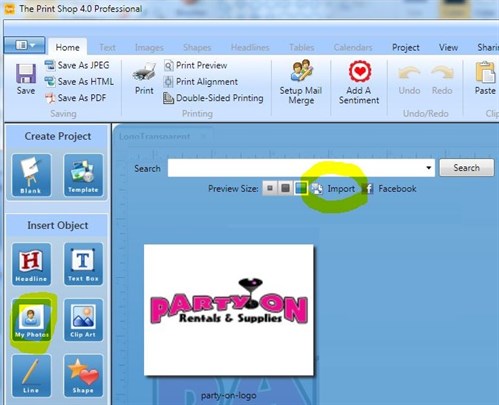
Click the My Photos button, then click
Import. Browse to where you saved your JPG logo. Now it
is imported into the gallery and you will see its thumbnail.
Hover over this thumbnail to bring up
the Edit Copy option. Click Edit Copy and the logo will open
in the Image Editor.

Click the Effects button to activate
the Effects tools. This is where we will select the white
background and change it to transparent.
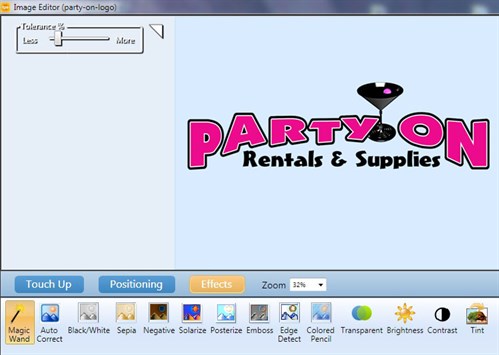
Click the Magic Wand tool. Using
the Magic Wand, click on the white background. Hold down the
Ctrl key and click any additional bits of white (e.g. inside the
letters) Your selected area is indicated in blue.
Now that all the white background is
selected, click the Transparent button.

Click Apply, then click Save.
You will be prompted to give your edited image a new name.
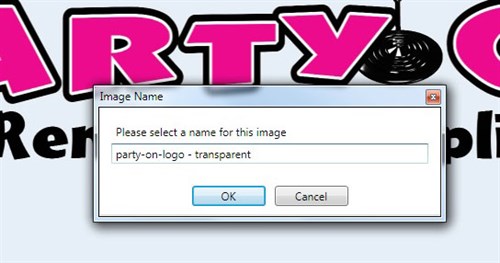
Give your edited image a name and
click OK. A new thumbnail appears in the gallery. You
can see that the background is transparent! Now whenever you
want to add this logo to a Print Shop project, you just click on
this thumbnail.
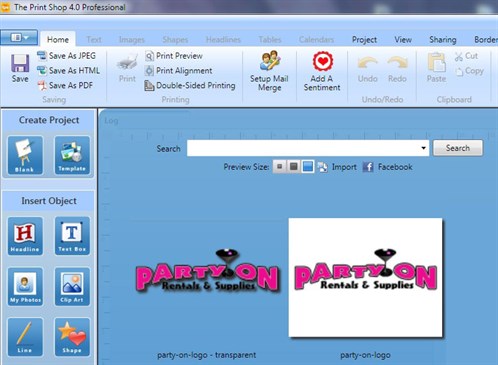
Also, you can make this image
available to other programs or for sending to a professional
printing service.
Hover over the thumbnail and when the
Actions button appears, click the drop down arrow, then select Save
To Disk.

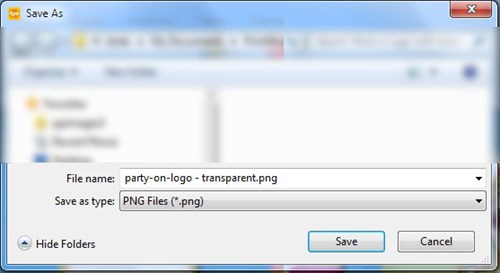
Save the image in PNG format
(otherwise the background will go back to white). Save your
PNG in a location where you can easily access it.
written by lindarobin