Most people add a photo to their
project first, and then crop it. Although this is the
intuitive method, it produces an edited image with the same aspect
ratio of the original photo, giving it a distorted look. The
cropped photo then requires stretching.
Here is a better method for cropping
photos:
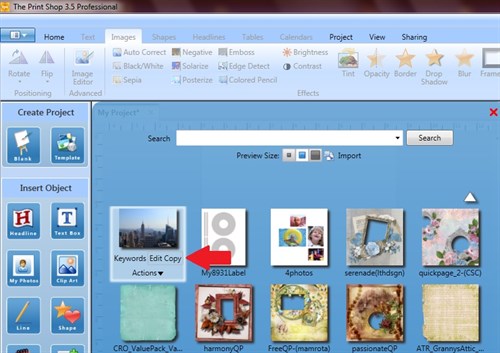
Click the My Photos button, then
Import your photo so its thumbnail appears in the
gallery. INSTEAD of clicking the thumbnail to immediately
add the photo to your project, hover over the thumbnail until
you see Edit Copy appear. Click Edit
Copy.
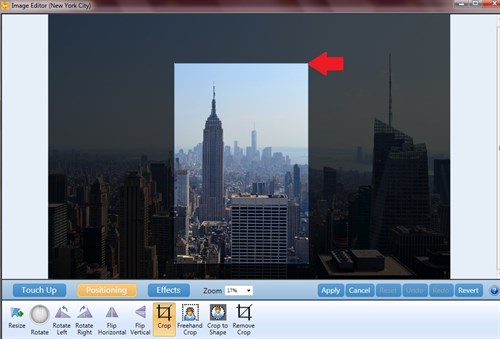
This action opens your photo in the
Image Editor. From the Positioning tab,
select Crop. Drag the four corners to set
the crop bounderies.
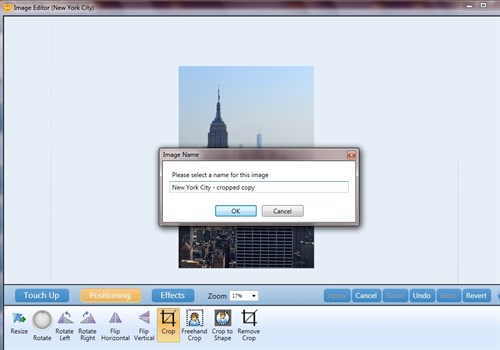
Apply and save the crop. Give
your cropped copy a name.
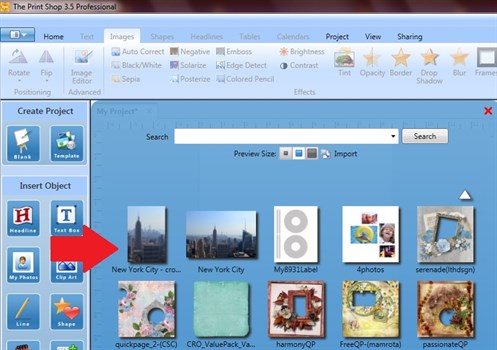
A thumbnail of the new cropped copy
appears in the gallery. Click this thumbnail to add the
cropped photo to your project.
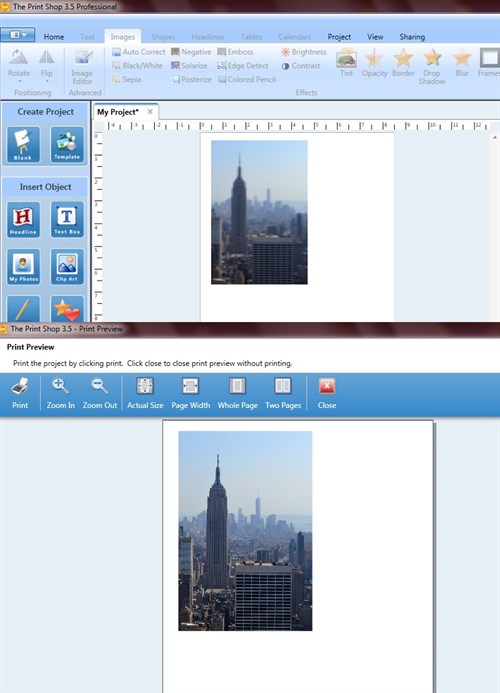
Cropped images appear blurry on the
project workspace, but as you can see in the Print Preview, the
image is OK. (This is a video display issue that they are
working on resolving.)
Now that the cropped copy of your
photo resides in the gallery, you can add it to any future
project. As well, cropping in TPS 3.5 is
"non-destructive". You can always Edit Copy
again, and adjust the crop bounderies.
written by lindarobin
