You've been getting professional 4x6
printing of your digital photos for as little as 10 cents per
print. Wouldn't it be great to do this for some of your
projects? How about a hundred 4x6 mini-flyers to promote your
small business, for as little as $10? All the photo paper,
high quality printing and cutting provided by your favorite
printing service, just by submitting your JPG.


Here are some tips for creating your
4x6. In this example, I make a birthday party
invitation. Open a 4x6 postcard template:
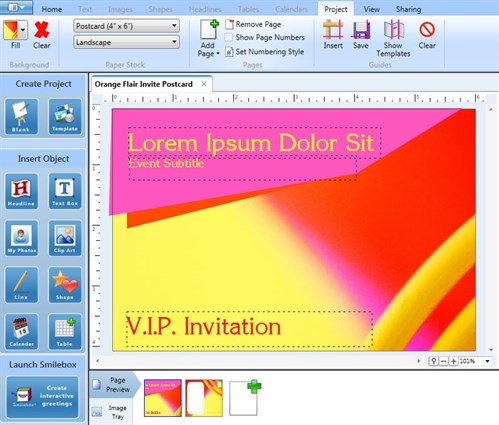
This is a good start because the
design is already set for 4x6. However, we don't want page
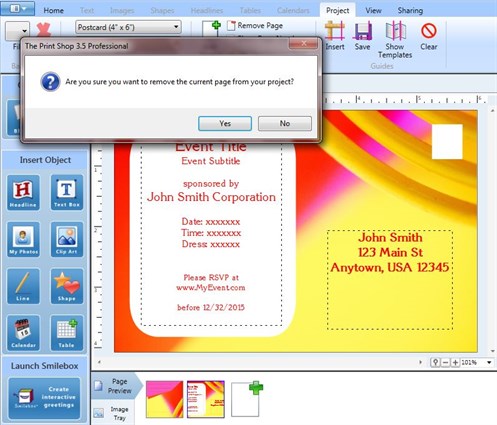
two of the project, so delete it.
- Go to the second page by clicking the
thumbnail in the System Tray (showing Page Preview).
- Open the Project tab and click Remove
Page.
I chose this template because I like
the graphics for the invitation I have in mind and I don't have to
start from scratch. If I want to start from scratch, I can
delete selected objects or delete all.
I add my text and my photo. I apply a frame which
automatically snaps around the photo! (Selecting your photo
opens the Images tab and makes available the Frames
button.)
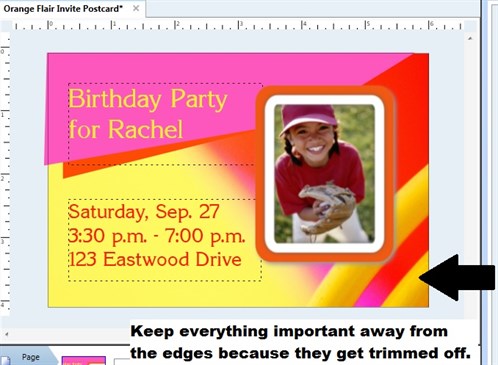
Very
Important! Your printing service trims the edges off to
ensure no white margins. You lose anything close to the edge,
so position elements within a "safe area" of 4mm from all
sides.
Save your project.
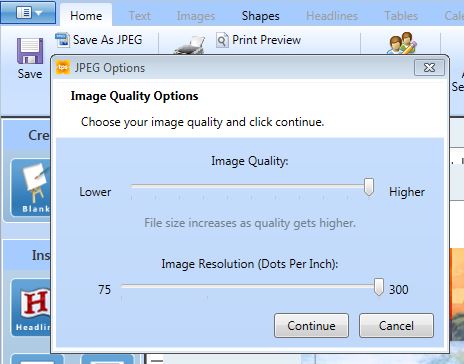
Then click the Home tab and Save As JPEG. Choose the highest
quality and the highest resolution.
Name your new JPG file and
save it in a location where it is easy to find, when you go to
upload it to the printing service's web site (or copy to a memory
stick so you can bring it into the physical store).
My 4x6 prints (with the edges trimmed off) will look like
this:

Use The Print Shop 3.5 and your
creativity and take advantage of 4x6 professional printing!
written by lindarobin