This weekend, I was at the drug store
when it occurred to me that I needed to start thinking about
Halloween treats for all the Trick-or-Treaters. I'd just
spent some time with my nephews and seeing the amount of sugar they
consumed made me start thinking about other, non-candy,
options. Back at home, I was at the computer, still thinking
about my dilemma… when The Print Shop desktop icon caught my eye
and I suddenly realized what I was going to hand out to all the
happy little monsters and ballerinas that knock at my door on
October 31.
What kid doesn't love stickers?
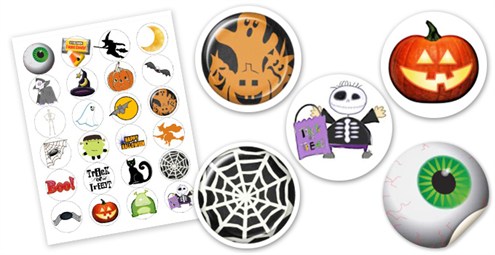
I pulled up The Print Shop program and within 5 minutes, I was
printing out sheets of Halloween stickers. A few minutes
later, they were cut, dropped in a pumpkin bowl and ready for kids
to pick.
Here's how I made them - Quick, Easy
and Fun!

Stickers from a pre-existing
template:
-
Select 'Stickers' from 'Select a New
Project'
-
Selecta layout style you like. (I
used the 'Big Wild Cats Sticker' template)
-
Delete all existing images
-
Select themed images from the Clip
Art selection and move them into your tray
-
Select images that you wish to use
and place them into your workspace.
-
Reduce the size of the image so it
fits nicely into the sticker space. Using the ruler for
guidance, size images down to fit the space. Note:
Keeping images uniform will allow you to give out strips of
stickers instead of individual ones.
-
Once all spaces are filled, save
your project, print on the appropriate sticker paper and cut.
Post provided by: Cindy Levin, Encore
Employee