The Print Shop 6.0 User Guide
This User Guide is designed to help you learn the software.
Be sure to also check out the
Video Tutorials and the
Blog for
additional ideas. To access the User Guide, either click
on a topic to the left, choose a commonly accessed topic
below, or search for a topic above.
In addition to the information available in The Print Shop 6.0 User Guide, Technical support is also available if you encounter an issue with the software. Solutions to common technical issues can be found using these links, or if necessary report a problem to our Support team.

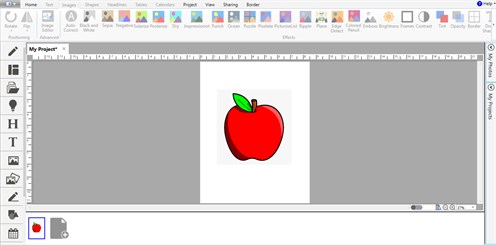
Adding an Image to Your Project

To add an image to your project:
- Click on the Clip Art Button.
- This will Open the Art Gallery.
- Use the search fields and drop down menus as described in the
Art Gallery
section of this User Guide to find an image that works for
you.
- Click on the image to insert it into your project.
The image will now appear on your
project.
Importing an Image into the Gallery
The Print Shop also allows you to
import your own images so they can be used in your projects. To do
this do the following:
- Click on the My Photos Button.
- Click on the "Import" button in the Project Gallery.

- Browse to the location of your Image.
- Click to Select your Image.
- Click on the Open button.
Note: You can select more than one
image at a time by holding the control button down while Clicking
on the art in step 4.
Once your photo is imported into the Gallery you can insert it
into your project by:
- Click on the My Photos Button.
- This will Open the My Photos
Gallery.
Note: This works the same way as the Art Gallery.
- Use the search fields and drop down
menus as described in the Art Gallery section of this User Guide
to find an image that works for you.
- Single click on the image to insert
it into your project.
Copy/Paste an Image into
your Project from the Web
Now you can copy/paste an image from
the Web into The Print Shop 6.0:
- Launch The Print Shop 6.0.
- Create a Blank or Template project.
- Open a Web Browser (i.e. Internet Explorer, FireFox, Google
Chrome).
- In your Web Browser, search and locate an image that you would
like to use in your project.
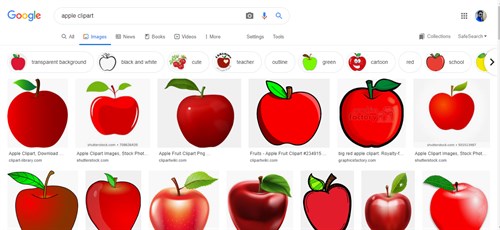
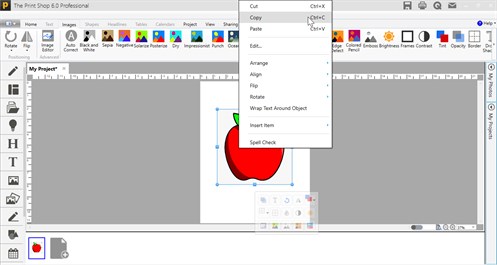
- Right-Click on the image and select Copy.
- Return to The Print Shop 6.0 and click anywhere on the design
desk.
- Right-Click and select Paste.
- In your Web Browser, search and locate an image that you would
like to use in your project.
Note: The copy/paste feature may not
support certain images from the Web.
Copy/Paste an Image or Clip
Art into Microsoft Word from The Print Shop
Now you can copy/paste an object from
the The Print Shop 6.0 into Microsoft Word:
- Launch The Print Shop 6.0.
- Create a Blank or Template project.
- Add a Image or Clip Art.
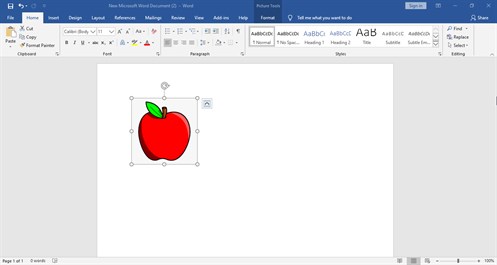
- Right-Click on the object and select Copy.
- Open Microsoft Word, and open a new or existing document.
- Right-Click and select Paste.
- Notice the image has been added to your Microsoft Word
document.
Note: Microsoft Word may not allow
certain design objects to paste from The Print Shop 6.0. Also, the
dimensions of the object are going to be adjusted when you import
them into Microsoft Word from The Print Shop 6.0
Back to Working with Images...
or
Continue to Photo &
Clip Art Management...
