The Print Shop 5.0 User Guide
This User Guide is designed to help you learn the software.
Be sure to also check out the
Video Tutorials and the
Blog for
additional ideas. To access the User Guide, either click
on a topic to the left, choose a commonly accessed topic
below, or search for a topic above.
In addition to the information available in The Print Shop 5.0 User Guide, Technical support is also available if you encounter an issue with the software. Solutions to common technical issues can be found using these links, or if necessary report a problem to our Support team.

Adding Effects to an Object

Effects are things that will alter the
way your objects appear on your project. Many object types
have effects unique to them but these four effects are standard
across all objects. Shapes are used in the examples below but
these effects can also be used with Headlines, Text, Images,
Calendars and Tables.
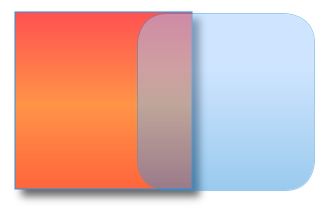
Opacity
Opacity affects the object's
transparency. This will make it so your object is slightly
transparent and elements in the background can be seen through
it.
The object on the right has a lower
opacity than the object on the left.
To change the opacity of your
object:
- Click on your object.
- Click on the Opacity button from the object's Tab.

- Use the slider to make your object more or less opaque.
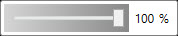
Note: The lower the percent, the more
transparent your image will become.
Border
Borders affect shapes and other
objects slightly differently. On Shapes, the border affect the
outline of the shape. Adding a border to other objects will put an
outline around its bounding box.
The object on the left has a border
and the object on the right does not.

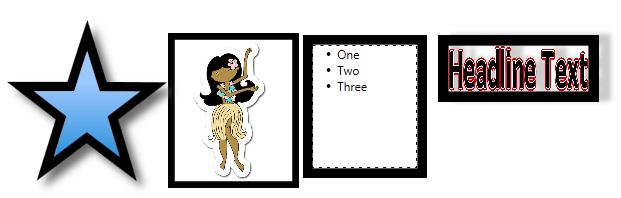
Here are some examples of other
objects using Borders.
To apply a Border:
- Click on your object.
- Click on the Border Button from the object's Tab.

- Each will have a drop-down menu with the following tools.
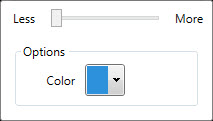
- Use the slider tool to increase or decrease the width of the
Border.
- Use the color drop-down to change the color of the Border.
Blur
The object on the left has a blur
effect and the object on the right does not.

To apply a blur:
- Click on your object.
- Click on the Blur button from the object's Tab.

- Use the slider to make your object Blurrier.

Note: The lower the percent, the
blurrier your image will become.
Drop Shadow
The Drop Shadow effect allows you to
place a shadow behind your object. You can also change the drop
shadow's color, direction, and blur.
The Shape on the left has a Drop
Shadow and the shape on the right does not.

To apply a drop shadow:
- Click on your object.
- Click on the Drop Shadow button from the object's Tab.

- A drop-down menu will appear with the following tools:
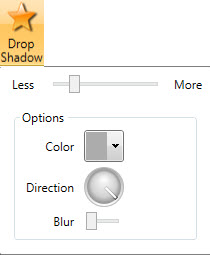
- Use the Slider tool to increase or decrease the distance the
shadow is placed away from the object.
- The Color drop-down lets you change the color of the
shadow.
- The Direction tool controls the direction that the shadow falls
away from the Shape.
- The Blur Slider affects only the shadow.
Back to Designing and
Modifying a Project...
or
Continue to Hover Menu for
Design Elements...
