Recently a friend asked me to make a
card she could mail to her little granddaughter. No special
occasion - just a way to brighten a little girl's day by getting
her own personal envelope delivered by the mailman. Do you
remember how special it was to receive a personal letter by the
postal service? Nowadays most kids see everything on
electronic devices, so something as rare as a card or letter from
the mailman is a real treat.
So my friend sent me a photo of
Olivia, and using The Print Shop 5.0, I quickly made a quarter-fold
card, saved it as PDF which she could easily print on her
printer. Simple single-sided printing on regular paper.
Here's how I started with this
ready-made template:
and customized it for Olivia in three
easy steps!

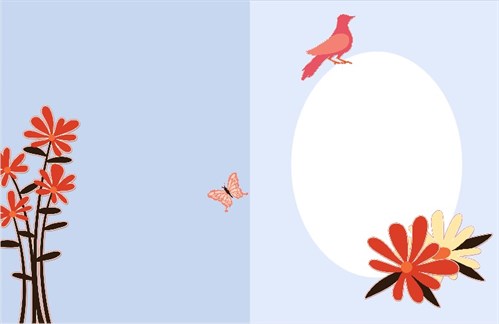
- Open the ready-made template
- Delete the text boxes
- Add Olivia's photo, name and optional
clipart
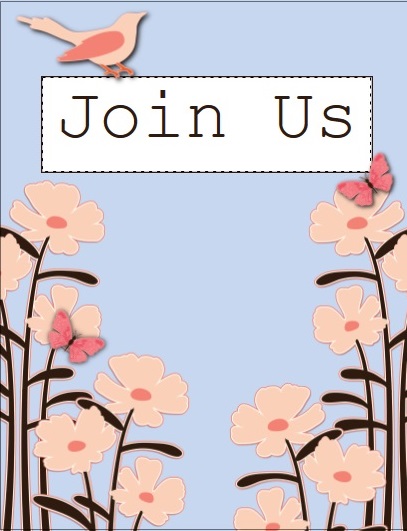
Step 1
This is a really cute template you can
use for many different occasions - birthday, invitation,
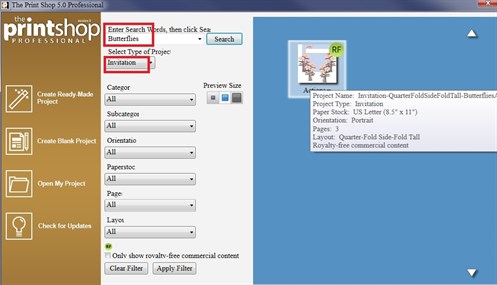
valentine's, get well, etc. You will find it by choosing an
Invitation project with the search word
Butterflies.
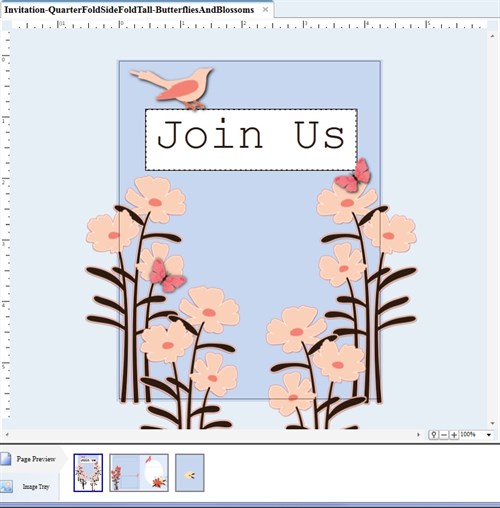
Step 2
These text boxes aren't needed for
this card, so click each one on each page, and hit the Delete
key.
Step 3
Add your photo. Simply drag and
drop it onto the canvas OR click the Photo button and browse to
where your photo is stored.
Resize the photo by clicking and
dragging the corner while holding down the Shift key to
maintain the correct proportions.
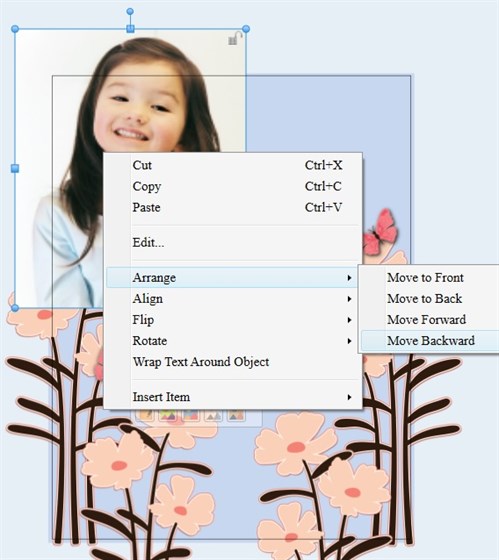
Use the Arrange feature to move the
photo underneath the flowers. Right click the photo and send it
backwards. You may have to do this a couple of times
depending on the number of layers on top.
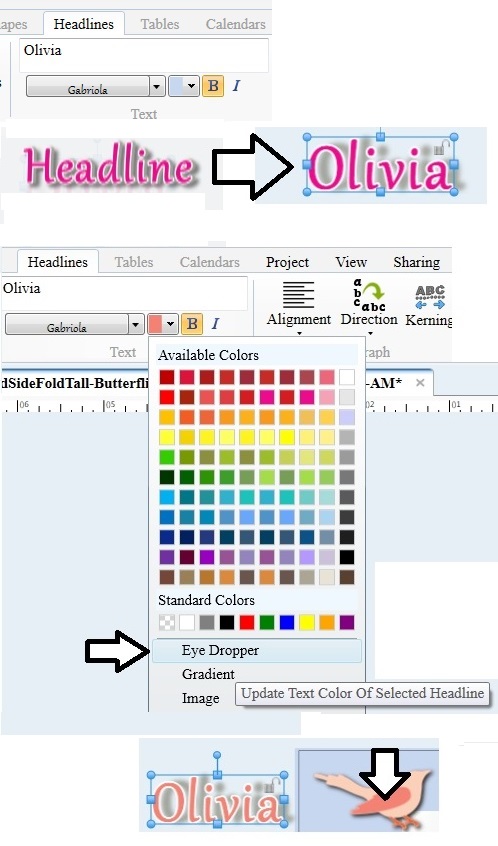
Use Headlines to add the name.
The ready-made Headlines add color, and 3D effects instantly.
I used the Eye Dropper to pick a color already on the card:
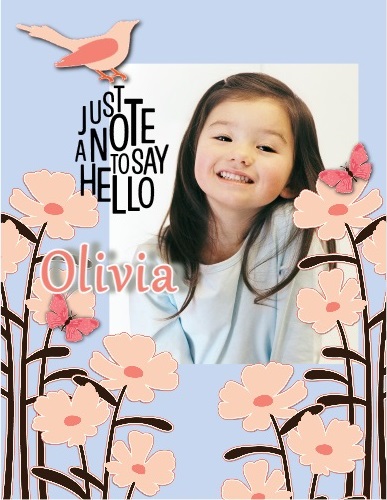
One last thing - I added the
JUST A NOTE TO SAY HELLO clipart. There is
already a lot of clipart on the page so I don't want to make it
look too cluttered.
So there you have it. A sweet
little card where you can hand write a message on the inside.
Of course you can choose to add a text box and type something in a
nice font, but handwriting is becoming a lost art, so is considered
pretty special and unique to the writer.
Front:
Insides:
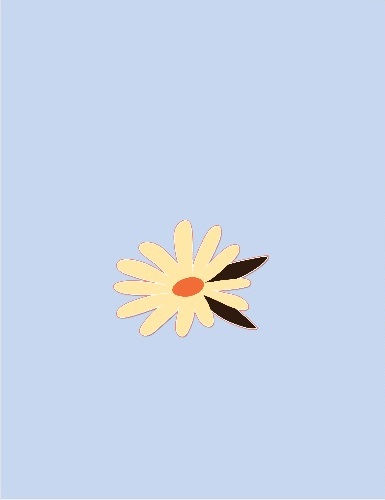
Back:
Techniques used:
- Deleting elements we don't need
- Using the Shift key to maintain
proportions when resiziing
- Moving a photo to another layer
- Using Ready-Made Headlines
- Using the Eye Dropper (color
picker)
