
Cropping a Photo

Cropping a photo is used to take a
piece of a photo and discard the rest similar to using scissors on
a printed photo. To do this in the Print Shop we'll use the
Cropping Tools.
Crop
This is the basic Crop tool which will
crop your photo down using a square.

To Crop a Photo:
- Open your image in the Photo Editor.
- Click on the Crop Button.
- Adjust the cropping square around what you would like to
crop.
- Click apply and save when your done.
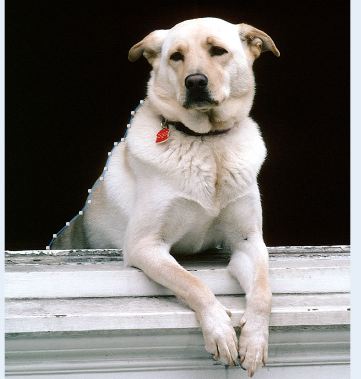
Freehand Crop
(Professional version only)
This is an advanced cropping tool
where you outline the selection you want to crop by tracing its
outline.

To Freehand Crop:
- Open your image in the Photo Editor.
- Click on the Freehand Crop Button.
- Click around your image to set points (See example
below).
- Connect your last point to your first by clicking on the first
point or double clicking the mouse.
- Click apply and save when your done.
Crop to Shape
Using the crop to shape tool, you can
crop your photo with a shape. In the example, this
tool is used to remove the white background.

To Crop to Shape:
- Open your image in the Photo Editor.
- Click on the Crop to Shape button.
- Choose a shape.
- Drag the points around your image to refine the crop area.
- Click apply and save when your done.
Back to Photo Editing...
