The Print Shop 3.0 User Guide
The Print Shop 3.0 is designed to help you learn the software.
Be sure to also check out the Video Tutorials and the Blog for
additional ideas. To access the User Guide, either click
on a topic to the left, choose a commonly accessed topic
below, or search for a topic above.

Adding a Linked Text Box

When typing long passages into a text
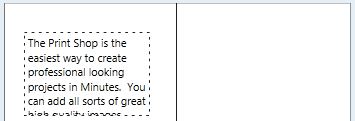
box, the text may not fit in the text box. The text isn't lost,
even though you can't see it. Instead of resizing the text box, you
can place the extra text in another empty text box anywhere in your
project and have the text flow from one text box to the other
automatically. This is particularly useful for newsletters, in
which you want to continue an article from the front page to an
inside page, for example.
To add Linked
Boxes:
- On your project, add a text box and write in or copy
in your text. As your text box fills it should begin to push the
text up and overflow until it doesn't fit in the text box
anymore.
- Clicking out of the text box will move the text back to the
top, but will cut off when it reaches the limitations of the text
box.

- Click to select the text box that contains your
text.
Note: If you do not select a text box with text already in it the
options for linked text box will be unavailable.
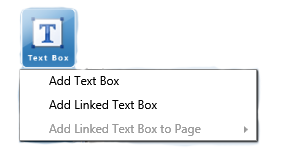
- Click on the Add Text Box Button.

- Click on Add Linked Text Box. If your project has
multiple pages the option to add the linked text box to a different
page will appear allowing you to link your text to the next page or
several pages later.

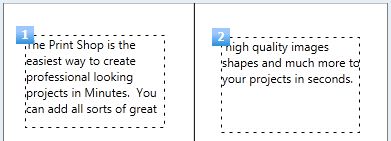
The end result will split the text
between two text boxes, so that it flows between the two
nicely.

Return to Working with Text...