Gradients can be added to the
background, to text, and to shapes.
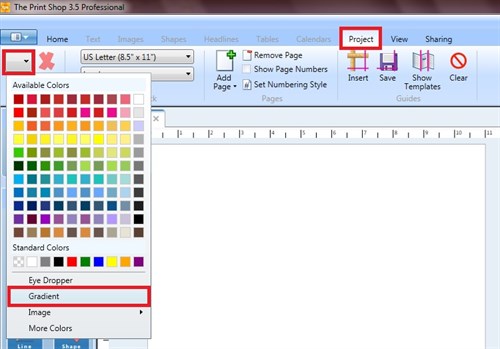
To add a gradient to the background,
go the the Project Tab and click the dropdown arrow on the Fill
button. From the options, choose Gradient.
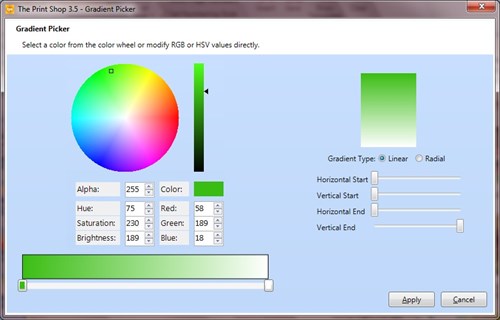
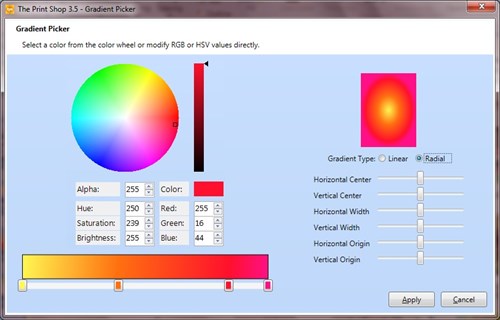
Click the little square on the left
bottom of the slider, then click on the color wheel to select your
starting color. Or you can change the numbers in the HSB or
RGB boxes to get a specific color.
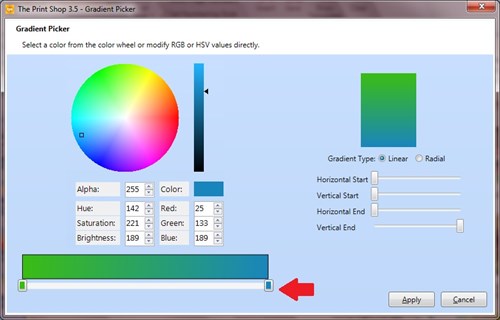
Click the little square on the right
bottom of the slider, then click the color wheel to select your end
color.
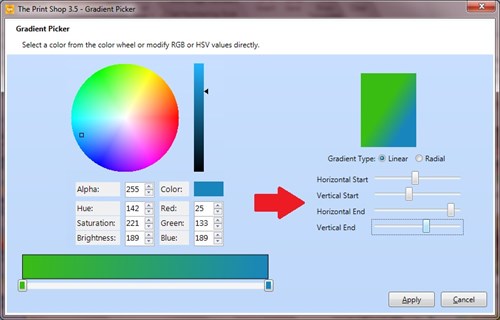
Play with the Horizontal and
Vertical sliders to customize your gradient.
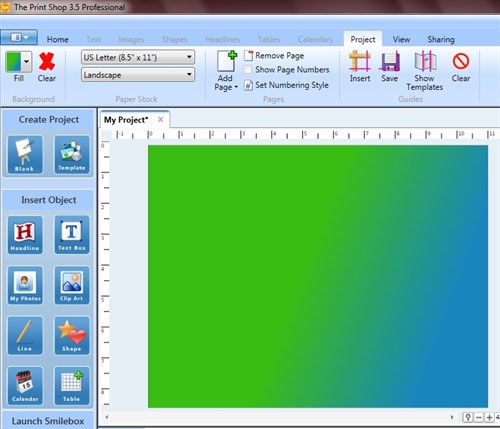
There you are - a simple two color
gradient background.
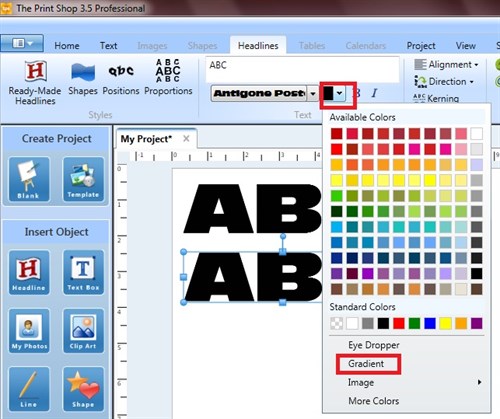
Now let's make a gradient with more
colors, on Headline Text. In the Headlines Tab, click the
dropdown arrow on the color button, then click Gradient.
You can have up to 4 different colors
for your gradient. Just click on the slider to apply a new
gradient point.

To apply your choices of color, click
a little square, then click in the color wheel. Do this for
each little square. You can slide the little squares to
increase or decrease the amount of that color.
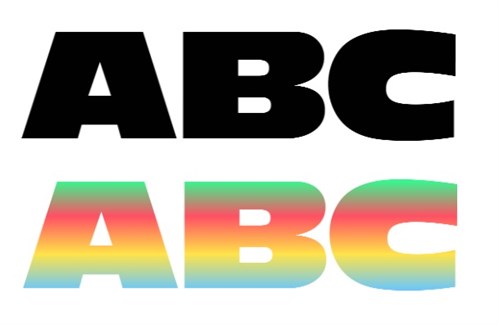
There you are - Headline Text with a
4-color gradient.
Now let's color a shape, this time
with a radial gradient. In the Shapes Tab, click the dropdown
arrow on the color button and choose Gradient.
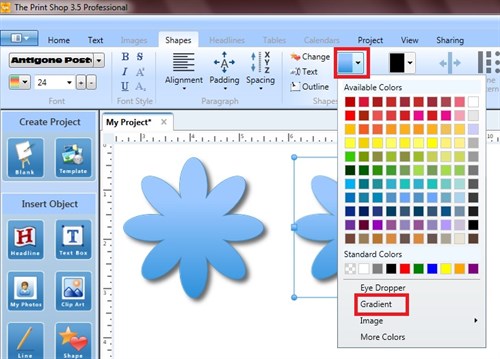
I applied colors to the four little
squares. I selected the Radial Gradient Type.

Now my flower is colored with a
4-color gradient.
Have fun making gradients!
written by lindarobin
